Set up a New Budget View
Background
In Procore, a budget view is a customizable layout that allows teams to display their project's budget data in a way that suits their company's specific needs. It acts as a tailored visual arrangement of your budget information. Here are some key benefits of using budget views:
Customization: Present the most relevant budget data for different stakeholders or purposes.
Insights: Gain better insights into your project's financial status.
Reporting: Use these views as data sources for custom budget reports.
A Procore Administrator can set up new budget views in the Company Admin tool. Once its columns are configured, users with 'Admin' level permissions on the Budget tool can access the view directly from the Budget tool.
Things to Consider
Required User Permissions:
'Admin' on the Company Admin tool.
Additional Information:
To set up a budget view for real-time labor productivity, see Resource Tracking and Project Financials: Setup Guide.
To set up a labor productivity cost budget view, see Set Up the Procore Labor Productivity Cost Budget View.
Any user with 'Read Only' permission or higher on the Budget tool has access permission to apply the view to a project's budget. See Apply the View, Snapshot, Group, and Filter Options on a Budget or Forecasting View.
For companies using the
 ERP Integrations tool: Show/Hide
If your company account is using the ERP Integrations tool, Procore automatically provides you with a budget view for your
. See Which ERP integrations are supported by Procore? for details about your specific ERP connector.In Procore, the term integrated ERP System, is used to refer to Enterprise Resource Planning (ERP) software applications that can be configured to exchange data between Procore and a supported application using the Company level ERP Integrations tool. See Which ERP integrations are supported by Procore?
Any custom budget views that you create for an ERP Integration must contain all of the required ERP data columns. This ensures that Procore can send the required budget data to the company's ERP Integrations tool for acceptance for export to the integrated ERP system by an
. See Send a Budget to ERP Integrations for Accounting Acceptance.In Procore, an Accounting Approver is an individual with the authority to accept and reject Procore data for export to an integrated ERP system. Accounting approvers can unlink several item types, such as commitments, commitment change orders, prime contract change orders, and subcontractor invoices, that have been synced between Procore and an integrated ERP system. See Which ERP Integrations are supported by Procore?
Demo
Steps
Navigate to the company's Admin tool.
Under 'Tool Settings', click Budget.
Tip
Did you know you can also launch the 'Budget Views' page directly from the project's Budget tool? A Procore Administrator can open the 'Budget Views' page in the Company Admin tool directly from a project's budget. To do this, maximize the right sidebar in the Budget tool when viewing the 'Budget' tab. Under the 'Configurations' section, click the Configure Budgeting Views link.
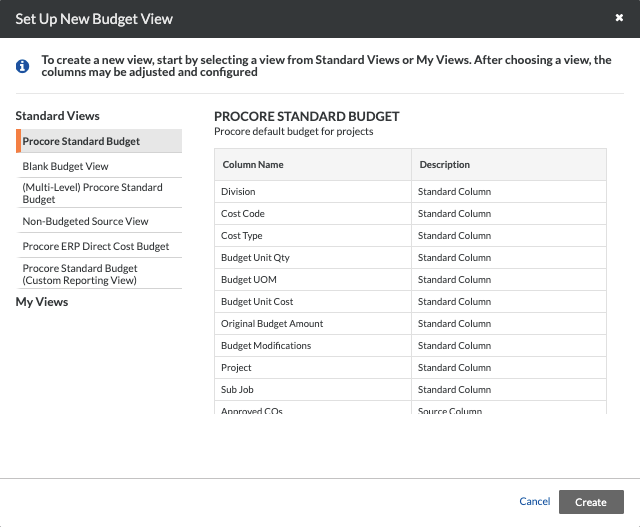
Click Set Up New Budget View.
Complete the following steps in the recommended order:
Set Up a Standard Budget View
Name a Budget View
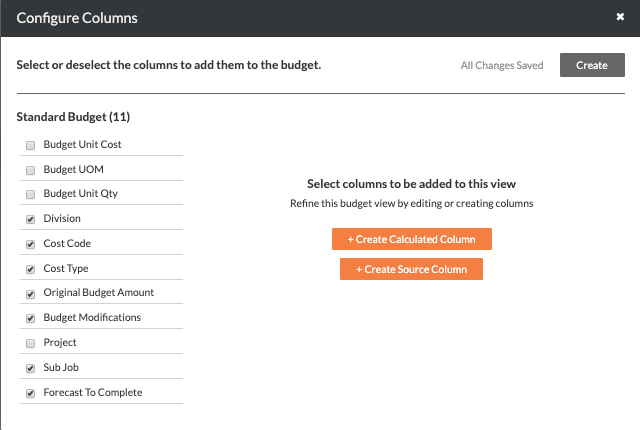
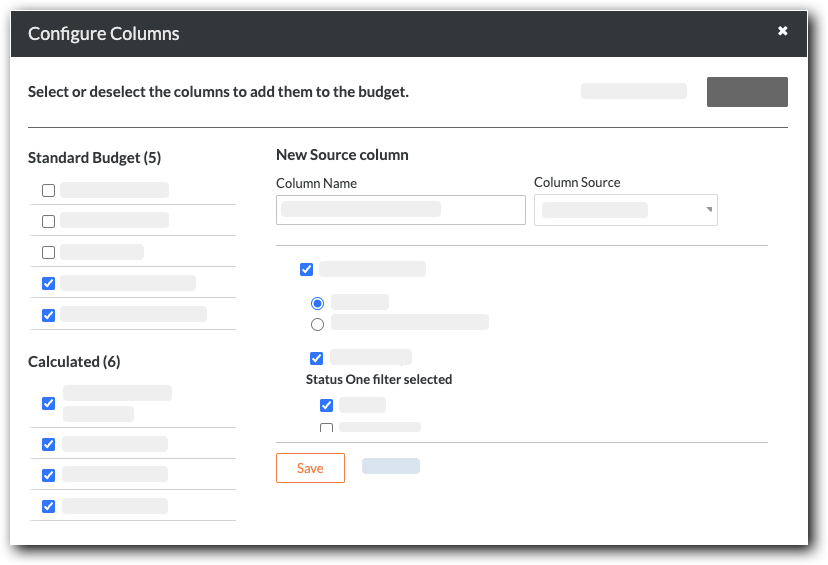
Configure the Columns for a Budget View
Preview a Budget View
Set Up a Standard Budget View
Note
Procore provides new customers with several standard budget views that contain different columns. This example shows you how to set up the view named 'Procore Standard Budget'. However, you can use any Standard Budget View as a starting point for customizing a budget view to fit your specific business need.