Managing Markups Outside of a Workflow in the Document Management Tool
Background
Organize your markups into public and private categories for control over your annotations. This structure enables naming and duplicating groups of markups, ensuring flexible organization and precise filtering at any time. This feature allows you to create, edit, and download markups without an active workflow.
Things to Consider
Required User Permissions:
'Admin' level permission have automatic access to both the ‘My Markups’ (private) and ‘Shared Markups’ (public) layers.
Users with 'Standard' or 'View' level permissions to a document have automatic access to the ‘My Markups’ (private) layer, and Admin can give access to the ‘Shared Markups’ (public) layer with the following permission added by an Admin:
'Edit, create, and delete public layers'
Admin cannot turn off user access to the 'My Markups' layer. If a user has permissions to view a document, they can also add private markups.
Steps
Navigate to the project's Document Management tool.
Click on the name of the document you want to markup.
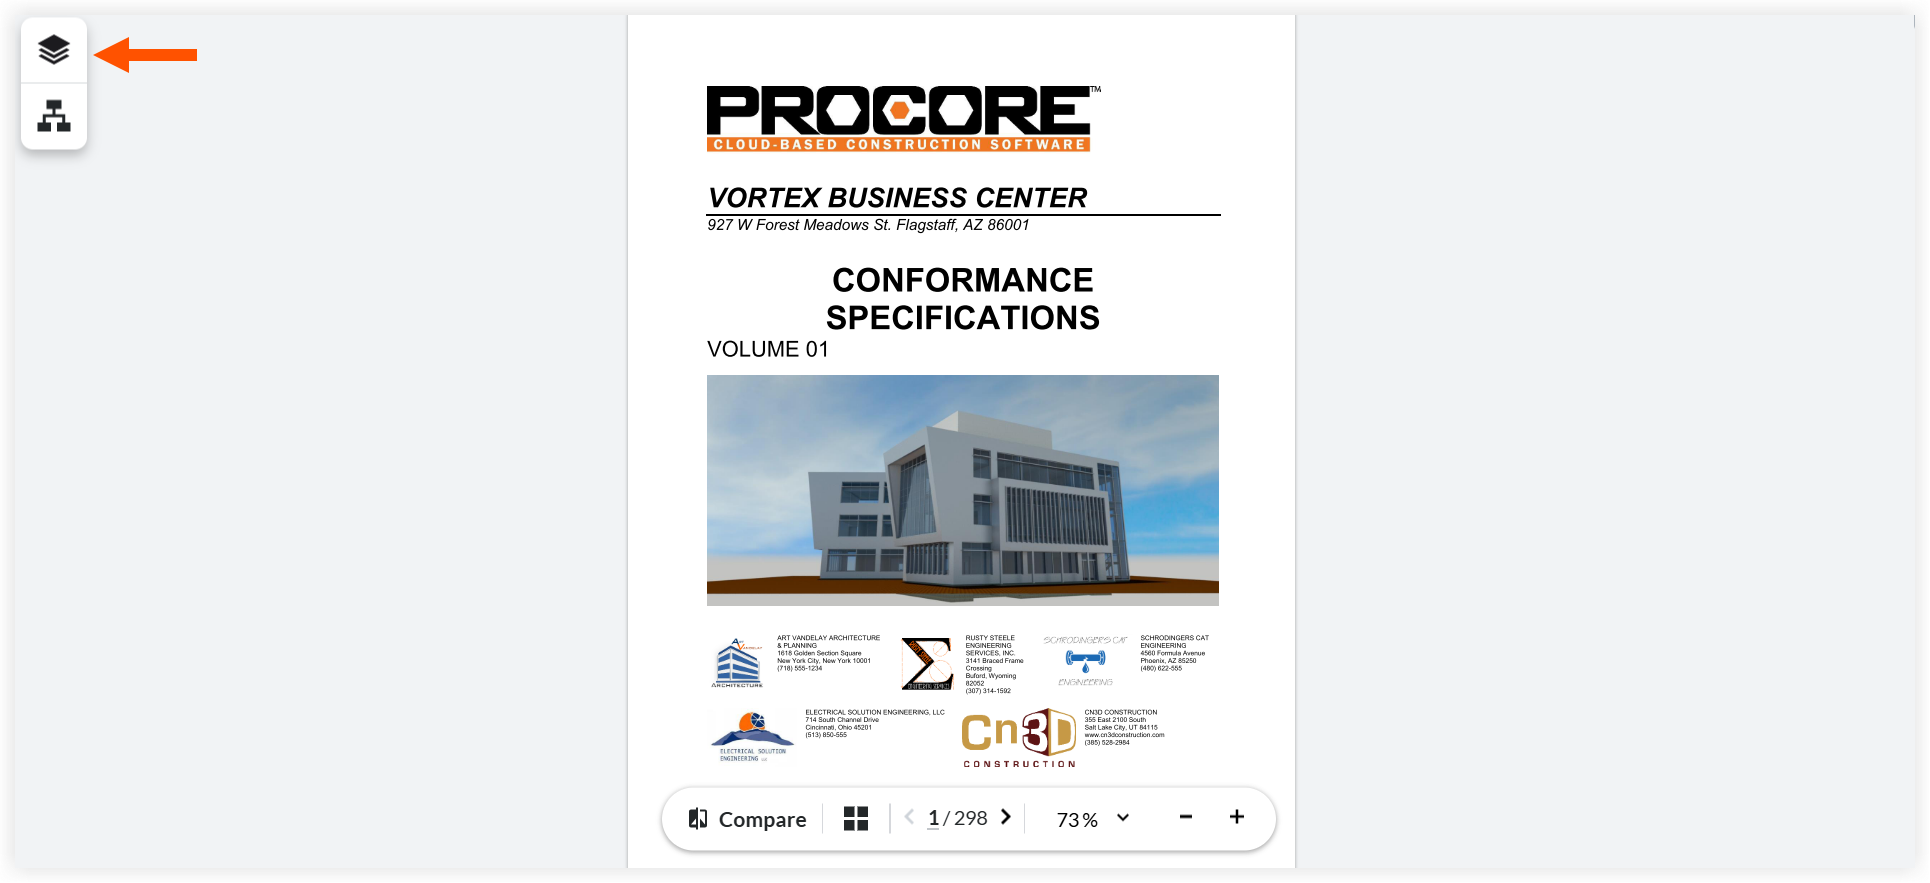
Click the layers
 icon to open My Markups. This displays the list of all your private and public markups:
'My Markups' are private and only visible to you.
'Shared Markups' are public and visible to everyone who has access to the document.
Note: You can also view markups associated with a workflow.

4. Manage your markups:
Procore automatically organizes your private and public markup layers into groups during each of your markup sessions, or you can manually create and rename groups to make filtering and finding your markups easier. If you do not already have a group selected, your markups are automatically added to your Private layer.
Filter Markups: Click the eye icon next to a group to hide it, or click the eye
 icon next to My Markups to hide the entire list.
Apply Filters: Execute these visibility changes on both public and private layers simultaneously.
Search Groups: Type a group name in the search bar to display it.
This displays only the markups belonging to that specific group. For example, Group 1 or Group 2.Duplicate Groups: Click the vertical ellipsis
 icon beside the markup group and select Duplicate.
This creates a copy containing all original markups. Adding new markups to this copy does not affect the original group.Delete Groups: Click the vertical ellipsis
icon and select Delete.Edit Groups: Drag and move the groups as you want them to appear in the markups list.
Rename Groups: Hover over the markup group name and click the pen
 icon to rename your group. Click ENTER on your keyboard or click outside the box to save.
Use Floating Panels: Access the info , vertical ellipsis
, and search  icons via floating panels. These tools now move freely instead of docking to the right edge.
Download Markups: Click the vertical ellipsis
icon for the following:Keyboard Shortcuts
Download with Markup
Download without Markup

See Also
Loading related articles...