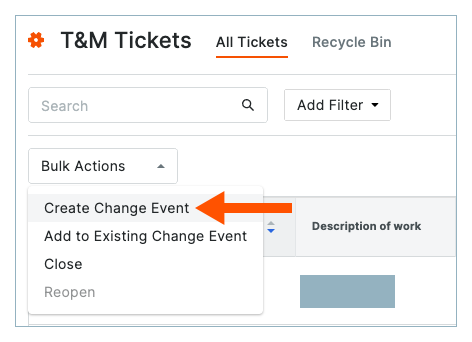
Create a Change Event from a T&M Ticket
Background
If one or more T&M Tickets results in a change to a contract's scope of work, you can create a new change event.
To perform this action, you will need to have the appropriate permissions on the project's Change Events tool and the T&M Tickets tool.
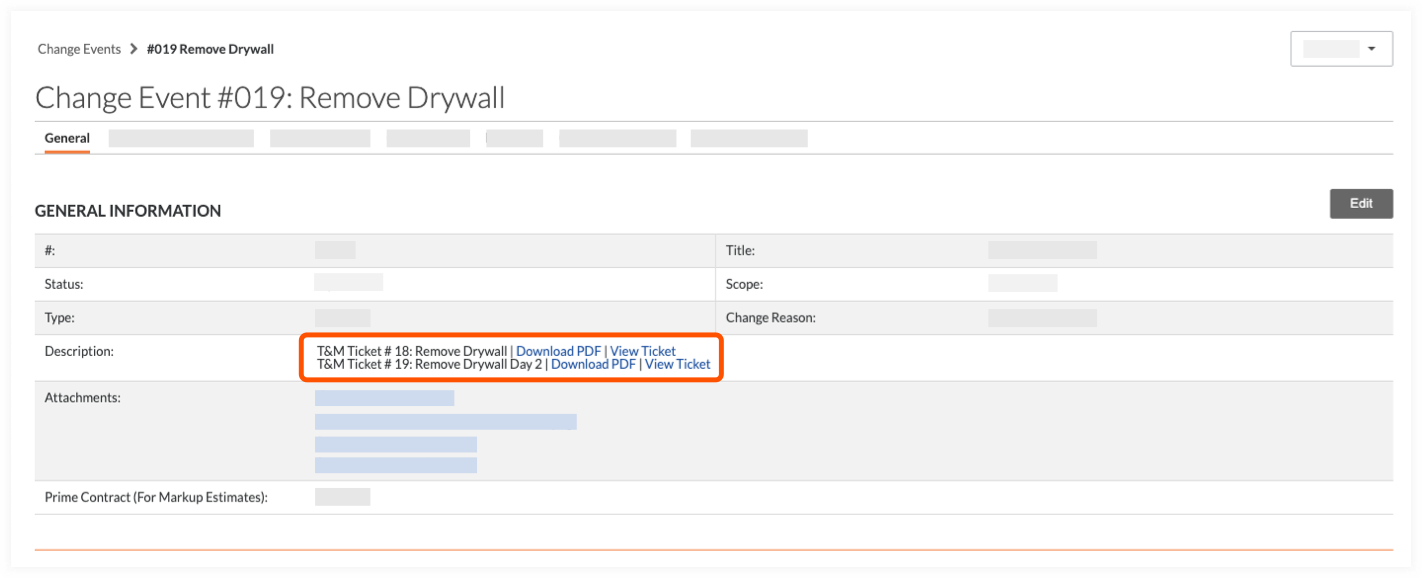
When you use this option, Procore creates a new change event and then automatically lists the T&M Tickets that you selected in the 'Description' field in the new change event. In addition, any attachments are also linked in the Description and the line item entries on each ticket are added to the change event.
Things to Consider
The T&M tickets and their attachments appear as hyperlinks in the 'Description' field of the change event.
Alternate ways to create change events:
To learn how to use other Procore tools to create a change event.
Company Administrators can enable the Resource Management: Rate Tables - Company & Project Rate Management beta in Procore Explore. (US 2 | UK)
Rate tables centralize and standardize your labor and equipment rates across all projects.
When you create rate tables, you define cost and billable rates for labor and equipment. You can also define which rates can be overridden at the project level.
Rate tables are then applied to projects and referenced by different Procore tools such as Timesheets and Equipment. They can be viewed in 360 Reporting, Analytics, and within some Procore tools.
Rates are configured in T&M Tickets and applied to Labor and Equipment entries. When a Change Event is created from a T&M Ticket, the revenue unit cost in each change event line item is pre-populated based on the rates from the T&M entries.
These cost rates are visible in the Change Event in the Change Events tool.
Note: To protect historical data from accidental changes, rates created in the table will be applied the next day.